


The Ultimate Saltwater Bait Blueprint: The Brine, Pack, and Rigging Guide for Ballyhoo, Bunker, and Goggle-Eyes
The Offshore Bait Blueprint: The Cold-Pack Science, Tournament Ballyhoo, and Capt. Ryan's Goggle-Eye Trick
A guide to multi-day cooler storage, preventing belly blowout, and the morning trick that turns dead bait into a slow-release mutton and grouper killer for bottom fishing along the reef.
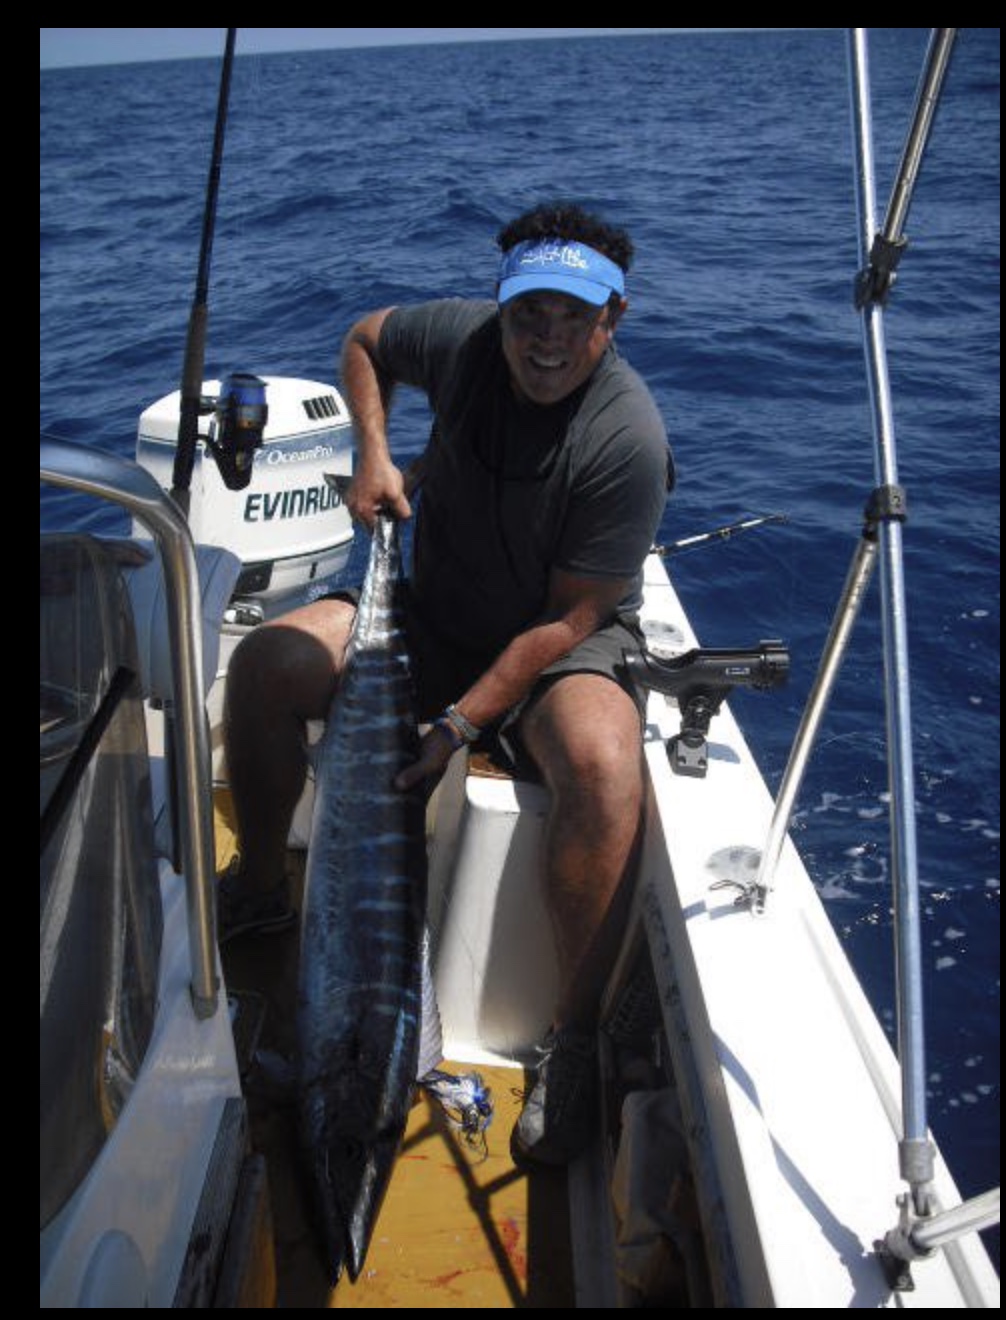
Before I left the corporate world behind to spend my days on the water, I spent years working deep inside the commercial food and pharmaceutical industries. My world revolved around two things: cold packing and dry packing. When millions of dollars of temperature-sensitive products are on the line, you quickly learn the strict science of thermal mass, vapor barriers, bacterial vectors, and osmotic pressure. You learn exactly what it takes to keep perishables pristine for days on end — and where 99% of people get it wrong. That was the fun part of my job.
When I traded the plant floor for the cockpit, I noticed almost every offshore angler was fighting a losing battle against physics.
Most guys lose their bait long before they lose their trip. A standard cooler of ballyhoo collapses into a nasty, lukewarm pile of mush within 24 hours. An improperly handled bait blows out its belly within fifteen minutes behind the boat. A soft, un-brined goggle-eye tears clean off the hook halfway down the water column. By day three of a hard run, you're dragging washed-out, scentless meat and wondering why the bite died.
When Steve, the owner of Dead Bait Solutions, reached out and asked me to test his product, I was immediately all ears. Talking with him, I quickly got the sense that Steve truly understands the deep science of curing. He is genuinely passionate about the craft — you just get that unmistakable feeling when someone truly loves what they do. Bottom line: this guy flat-out loves brine.
Tournament wins, meat hauls, and offshore limits aren't decided by luck — they are decided by controlling moisture, enzymes, and temperature when pulling dead baits. By applying real-world commercial cold-packing principles and food biochemistry alongside Dead Bait Solutions, you can completely eliminate the guesswork.
This is the field guide to keeping ballyhoo fresh for 5 days, mullet rock-solid for 10, skipping baits tracking true at 8 knots, and deep-drop goggle-eyes bleeding a steady scent cone right on the bottom structure you marked.
Part 1: Dead-Bait Cooler Packs
Choose the system that fits your day: build the Full Multi-Day Pack if you're heading out on an extended run, fishing a tournament, or prepping pristine baits to vacuum-seal for the deep freezer. If you're pressed for time, dial in the 15- to 30-Minute Slush Pack for an instant, hardened dead bait cure.
Option 1: The Commercial-Grade Master Pack
This layered pack turns a standard marine cooler into a dry, sub-freezing holding cell that eliminates the primary killer of dead bait: standing freshwater melt.
Step 1: Pound a solid ice block
Dump 15 lb–60 lb of cubed ice into your cooler and smash it into a solid, dense block. The simplest tool for this is a 2- to 3-foot cutoff of a 2x4 or 4x4 lumber post — it crushes internal air voids instantly without gouging or cracking your cooler lining. (If you want to skip pounding entirely, pre-freeze water solid in clean plastic gallon jugs or half-gallon cartons at home and lay them flat.) A solid block drastically reduces surface area so the cooler holds 31–32°F for days instead of collapsing into a warm slurry.
Step 2: Lay a perforated egg crate panel sheet on top
Place a custom-fit perforated egg crate panel over the ice block. This creates an elevated false floor that lets meltwater drain away instantly. Bait soaking in meltwater rapidly absorbs freshwater via osmosis, rupturing cell walls and turning the meat to mush.
Step 3: Stack tail-to-head, bellies down, backs up
Pack your dead bait tightly across the plate — tail to head, bellies down, backs up. Tight packing minimizes air voids to prevent oxidation, while placing the soft belly against the coldest surface protects the most vulnerable tissue.
Step 4: Salt, loose ice, more salt
Scatter a light layer of non-iodized coarse salt (or Dead Bait Solutions) over their backs, add a thin layer of loose ice, and dust with more salt. This creates a hybrid dry-cure that depresses the freeze point below 32°F and tightens the skin via osmosis.
Step 5: Lay a heavy plastic cold-trap
Cover the top layer with a 3-mil or 4-mil plastic contractor bag. Cold air is dense and falls; the plastic forms a vapor barrier that keeps cold air trapped inside when you open the lid.
Step 6: Pull working supplies into a day cooler
Never work directly out of your master bait hold. Transfer only what you need for a 2- to 3-hour window into a small working cooler to prevent continuous temperature cycling.
Extended Storage Tip (5–10+ Days): For long runs, cut out the bellies and guts before packing. The gut cavity holds the fish's natural bacterial load and digestive enzymes. Removing them eliminates the primary spoilage vector.
Option 2: The 15-Minute "Quick-Cure" Slush Pack (Single-Day Rush)
Short on time at the dock? This protocol delivers about 80% of the toughness and thermal benefit with zero prep hassle.
Step 1: Make a sub-zero brine slush in a bucket
Dump a 10–20 lb bag of regular cubed ice into a 5-gallon bucket or small cooler. Fill it halfway with clean seawater.
Step 2: Dump the cure
Pour about half of the bottle of Dead Bait Solutions directly into the water and stir aggressively. The salt forces the water temp down to around 28–30°F almost instantly.
Step 3: Drop the bait in for 15–30 minutes
Dunk your thawed or semi-frozen ballyhoo right into the super-chilled slush while you rig rods, load the boat, or idle out of the marina. The freezing brine shocks the exterior, locks in the scale sheen, and tightens the outer skin.
Step 4: Drain and fish over ice
Pull the baits out, put them in your working bait tray over ice (keeping them elevated off any standing freshwater melt), and start fishing.
Part 2: The Bonito Strip Brine & Dry Cure Protocol
How to lock meat to skin and prevent strips from washing out into bare leather.
Ever notice that every tutorial you see the pros do almost always leaves out the prep? They show you the rig, they show you the drop, and they show you the fish box full of wahoo — and then you're left wondering why they catch more wahoo than you. Well, here ya go.
If your bonito strips stop getting bit by mid-morning, reel one in and take a hard look at what's actually behind your planer.
At 7 to 9 knots, warm seawater destroys uncured flesh fast. Within twenty minutes, a raw strip waterlogs, the soft red meat shreds and washes off, and you're left dragging nothing but bare bonito skin with zero meat or scent. At that point, you might as well be trolling an empty shoelace. Wahoo have incredible eyesight — they aren't going to commit to a spinning, washed-out strip of skin with all the rich tuna oil dumped out an hour ago.
The real trick is a whole-fish liquid pre-brine to firm the core before you slice, followed by a heavy dry cure on the meat side.
Step 1: The Whole-Fish Pre-Brine Bath (DBS Liquid Brine)
Drop the whole, uncut bonito into a sub-zero slush of ice, seawater, and Dead Bait Solutions Liquid Brine for 1 to 2 hours. The super-chilled brine tightens the muscular structure, denatures outer proteins, and chills the meat solid so it won't tear, squish, or fray against your blade.
Step 2: Let Cure for 2 to 4 Hours
As the curing salt works, you'll see excess water purge out while the thin layer of meat turns dark, translucent, and firm like beef jerky. This chemically welds the remaining meat directly to the leathery hide so it can never wash away under high trolling pressure.
Step 3: Pack Dry Between Butcher Paper
Layer your finished, cured strips flat between sheets of dry brown butcher paper on your elevated cooler tray, or vacuum-seal them flat for the freezer.
When you drop a properly dry-cured bonito strip back in the spread behind a sea witch or a Gore's Offshore high-speed lure, it flutters dead straight without spinning, never washes out into bare skin, and slowly bleeds natural myoglobin and tuna oil from sunup to lines out.
Part 3: The Morning Goggle-Eye Trick
Slow-release dead bait for bottom fishing along the reef.
Goggle-eyes are oily, soft-fleshed, and fragile — they spoil fast and wash off the hook easily. But that oil is your scent engine.
This trick converts a fragile live bait into a slow-release dead bait that holds together on the drop and bleeds scent gradually on the bottom. For muttons on the reef, slow-release dead is often better than live — a live goggle-eye sent to the bottom is stressed, turns dark, and doesn't swim naturally anyway.
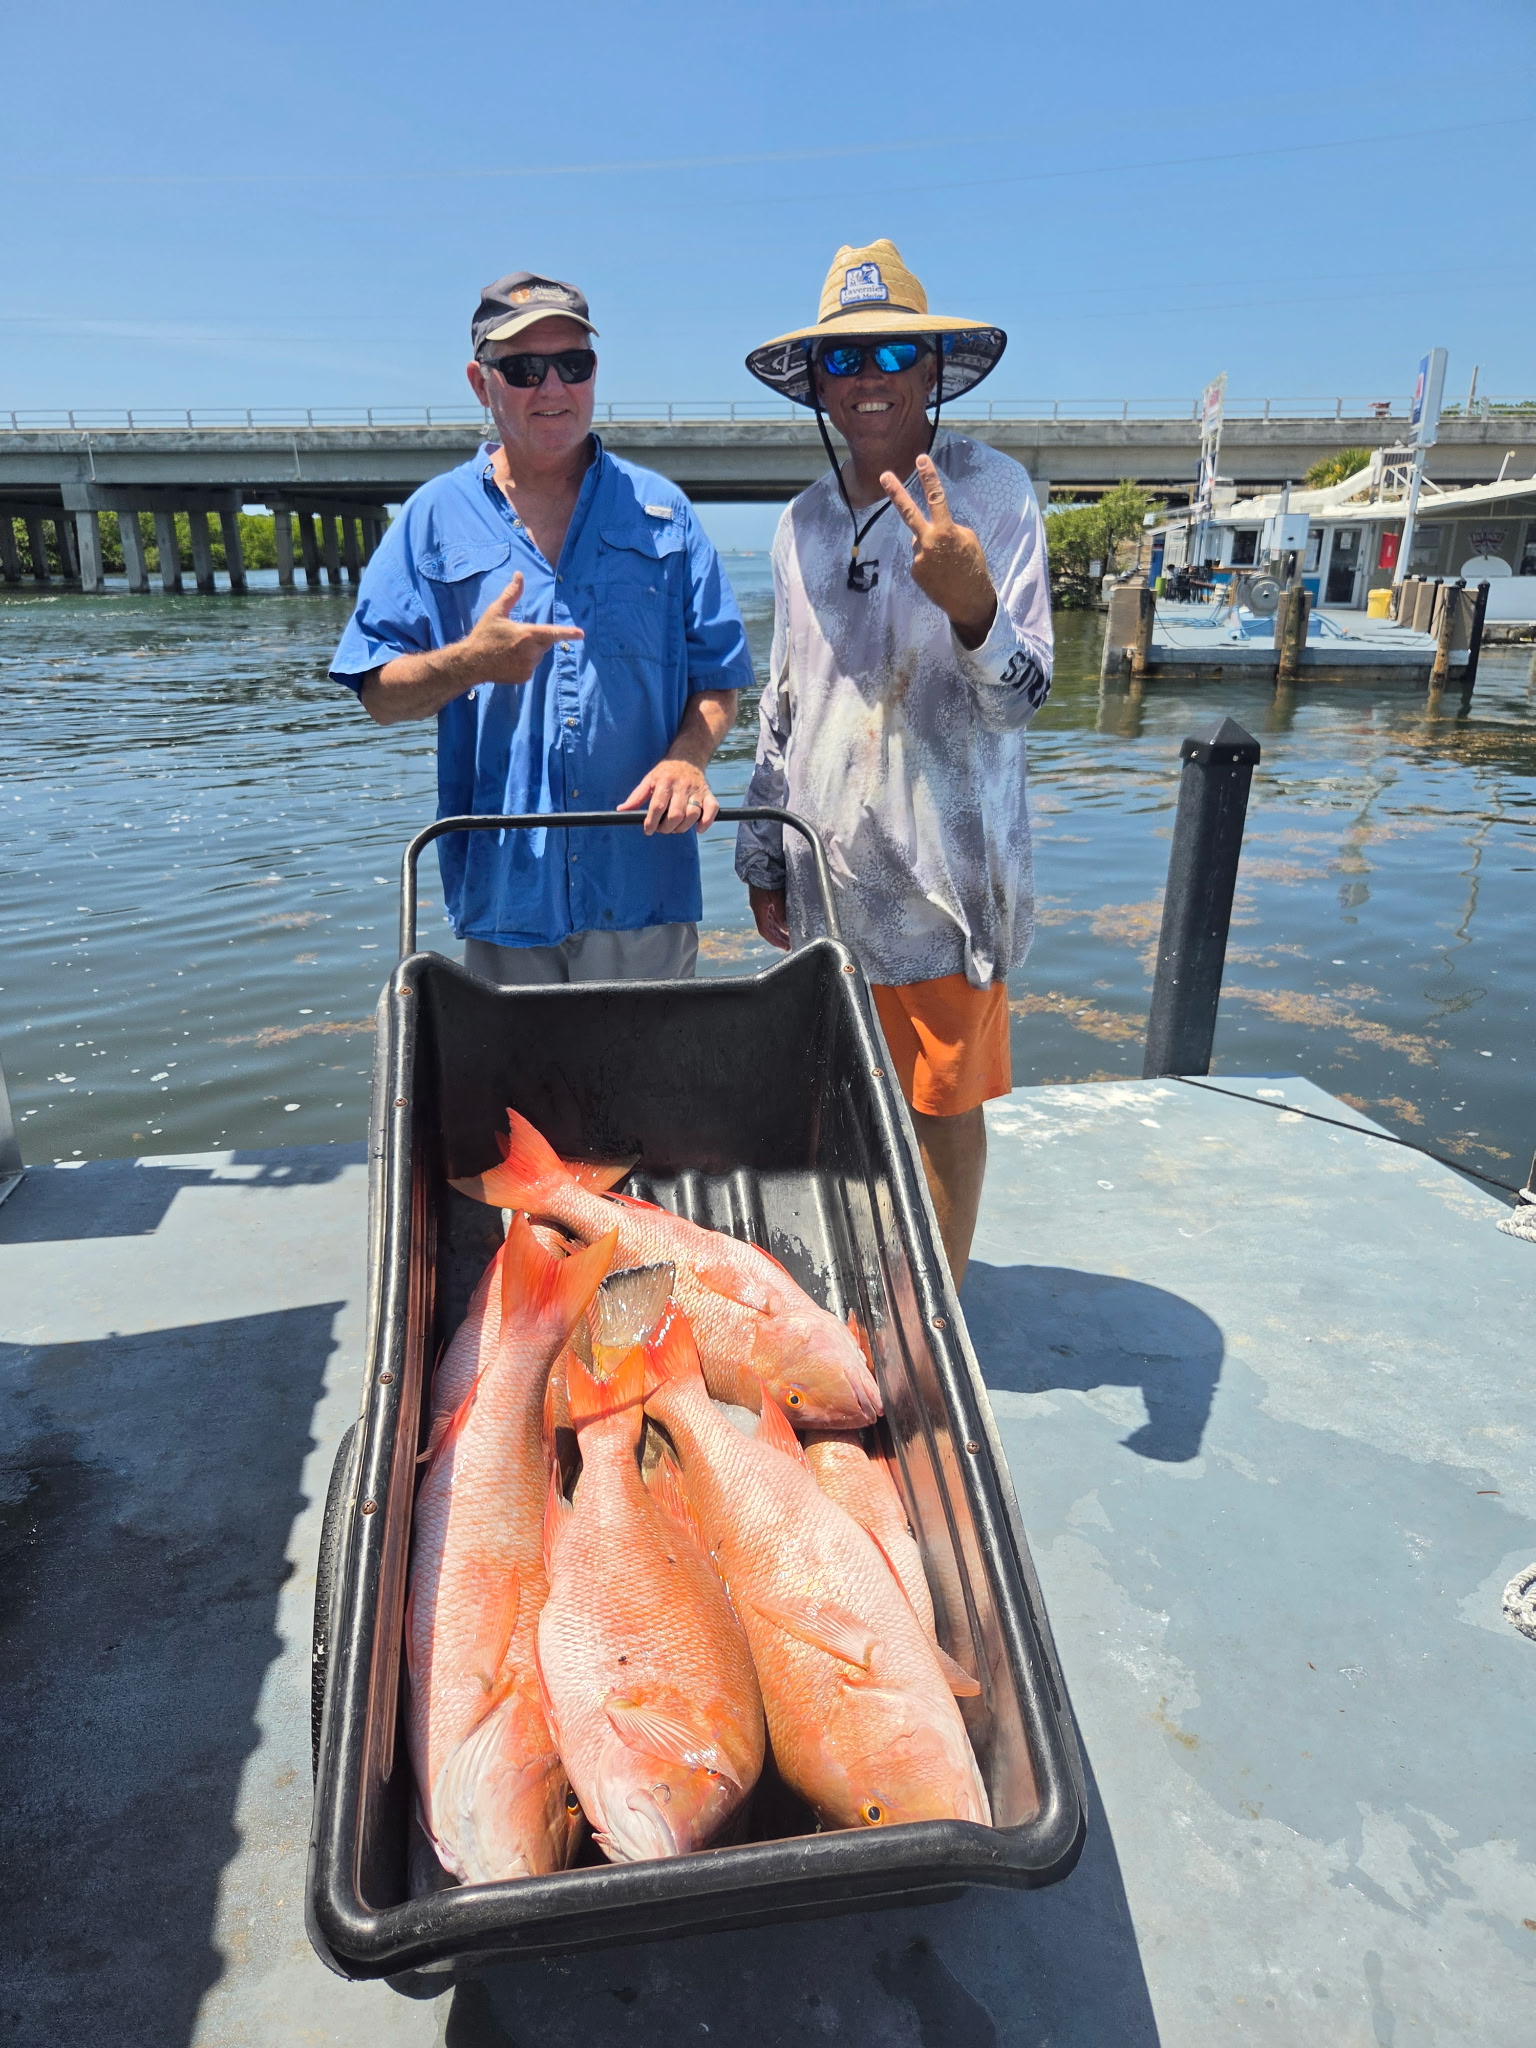
Frozen Goggle-Eyes into a Small Yeti
In the pre-dawn hours, place rock-solid frozen goggle-eyes into a small insulated cooler. The frozen core is the entire engine — it thaws slowly from the outside in, so the bait holds together through the drop for bottom fishing along the reef instead of going mushy.
Add Saltwater, Then Dead Bait Solutions Brine
Add clean seawater (never fresh), then add Dead Bait Solutions brine. The brine combines curing salts, preservatives, and amino-acid scent enhancers: it firms the flesh, locks the oil inside the tissue, and loads the bait with stimulants that leach out slowly.
Pull One at a Time, Leave Partially Frozen
Pull them one at a time out of the brine during the day. Leave them partially frozen. A rock-hard bait thaws too slowly and doesn't release enough scent; a fully thawed one washes off the hook fast. Partially frozen is the sweet spot: firm enough to survive the drop, but pliable enough to hook securely.
Send It Down for Bottom Fishing Along the Reef
On the reef in ~80°F water, a partially-frozen bait thaws fully within 10–15 minutes of sitting on the bottom — lining up perfectly with your natural re-bait cycle. The scent releases gradually as each layer thaws, creating a concentrated, sustained scent cone directly on the spot you marked.
Why It Works — The Food Science
| Mechanism | Biological / Physical Action | On-the-Water Advantage |
|---|---|---|
| Salt Osmosis | Denatures muscle proteins and draws out excess water. | Baits stay firmly pinned to the hook through current and aggressive strikes. |
| Seawater Base | Matches the bait's natural internal salinity (~3.5%). | Prevents osmotic waterlogging, flesh discoloration, and cell bursting. |
| Compacted Ice | Minimizes ice surface-area-to-volume ratio. | Eliminates temperature spikes, maintaining a constant 31–32°F hold for days. |
| Plastic Vapor Barrier | Blocks convective warm-air transfer during lid openings. | Traps dense cold air against the bait bed over dozens of cooler opens. |
| Visceral Purge | Eliminates endogenous proteases (pepsin, trypsin). | Prevents autolytic "belly bursting" under high-speed trolling friction. |
| Partial Freeze Core | Regulates thermal diffusion in warm water columns. | Produces a sustained amino-acid scent cone rather than an instant washout. |
Lock In
Keep the Brine Cold (32–34°F). If your curing bucket warms above 40°F, you are marinating rather than curing, and bacteria will soften the tissue. Keep a few ice cubes in the brine bath and store the cooler in the shade.
Don't Over-Brine. 4 to 8 hours in the wet brine is the sweet spot for goggle-eyes. Leaving them submerged past 12 hours pulls too much oil and turns the flesh rubbery.
Rotate Brine on Multi-Day Trips. After 24–48 hours, wet brine becomes saturated with purged blood, bile, and oils. Dump and mix a fresh batch to maintain osmotic draw.
Dial the Freeze to the Bite. Marking fish but not getting bites? Switch to a fully thawed, brined-only bait for a softer, scent-heavy presentation. Getting short strikes or chewed baits? Go more frozen.
Where to Get Dead Bait Solutions
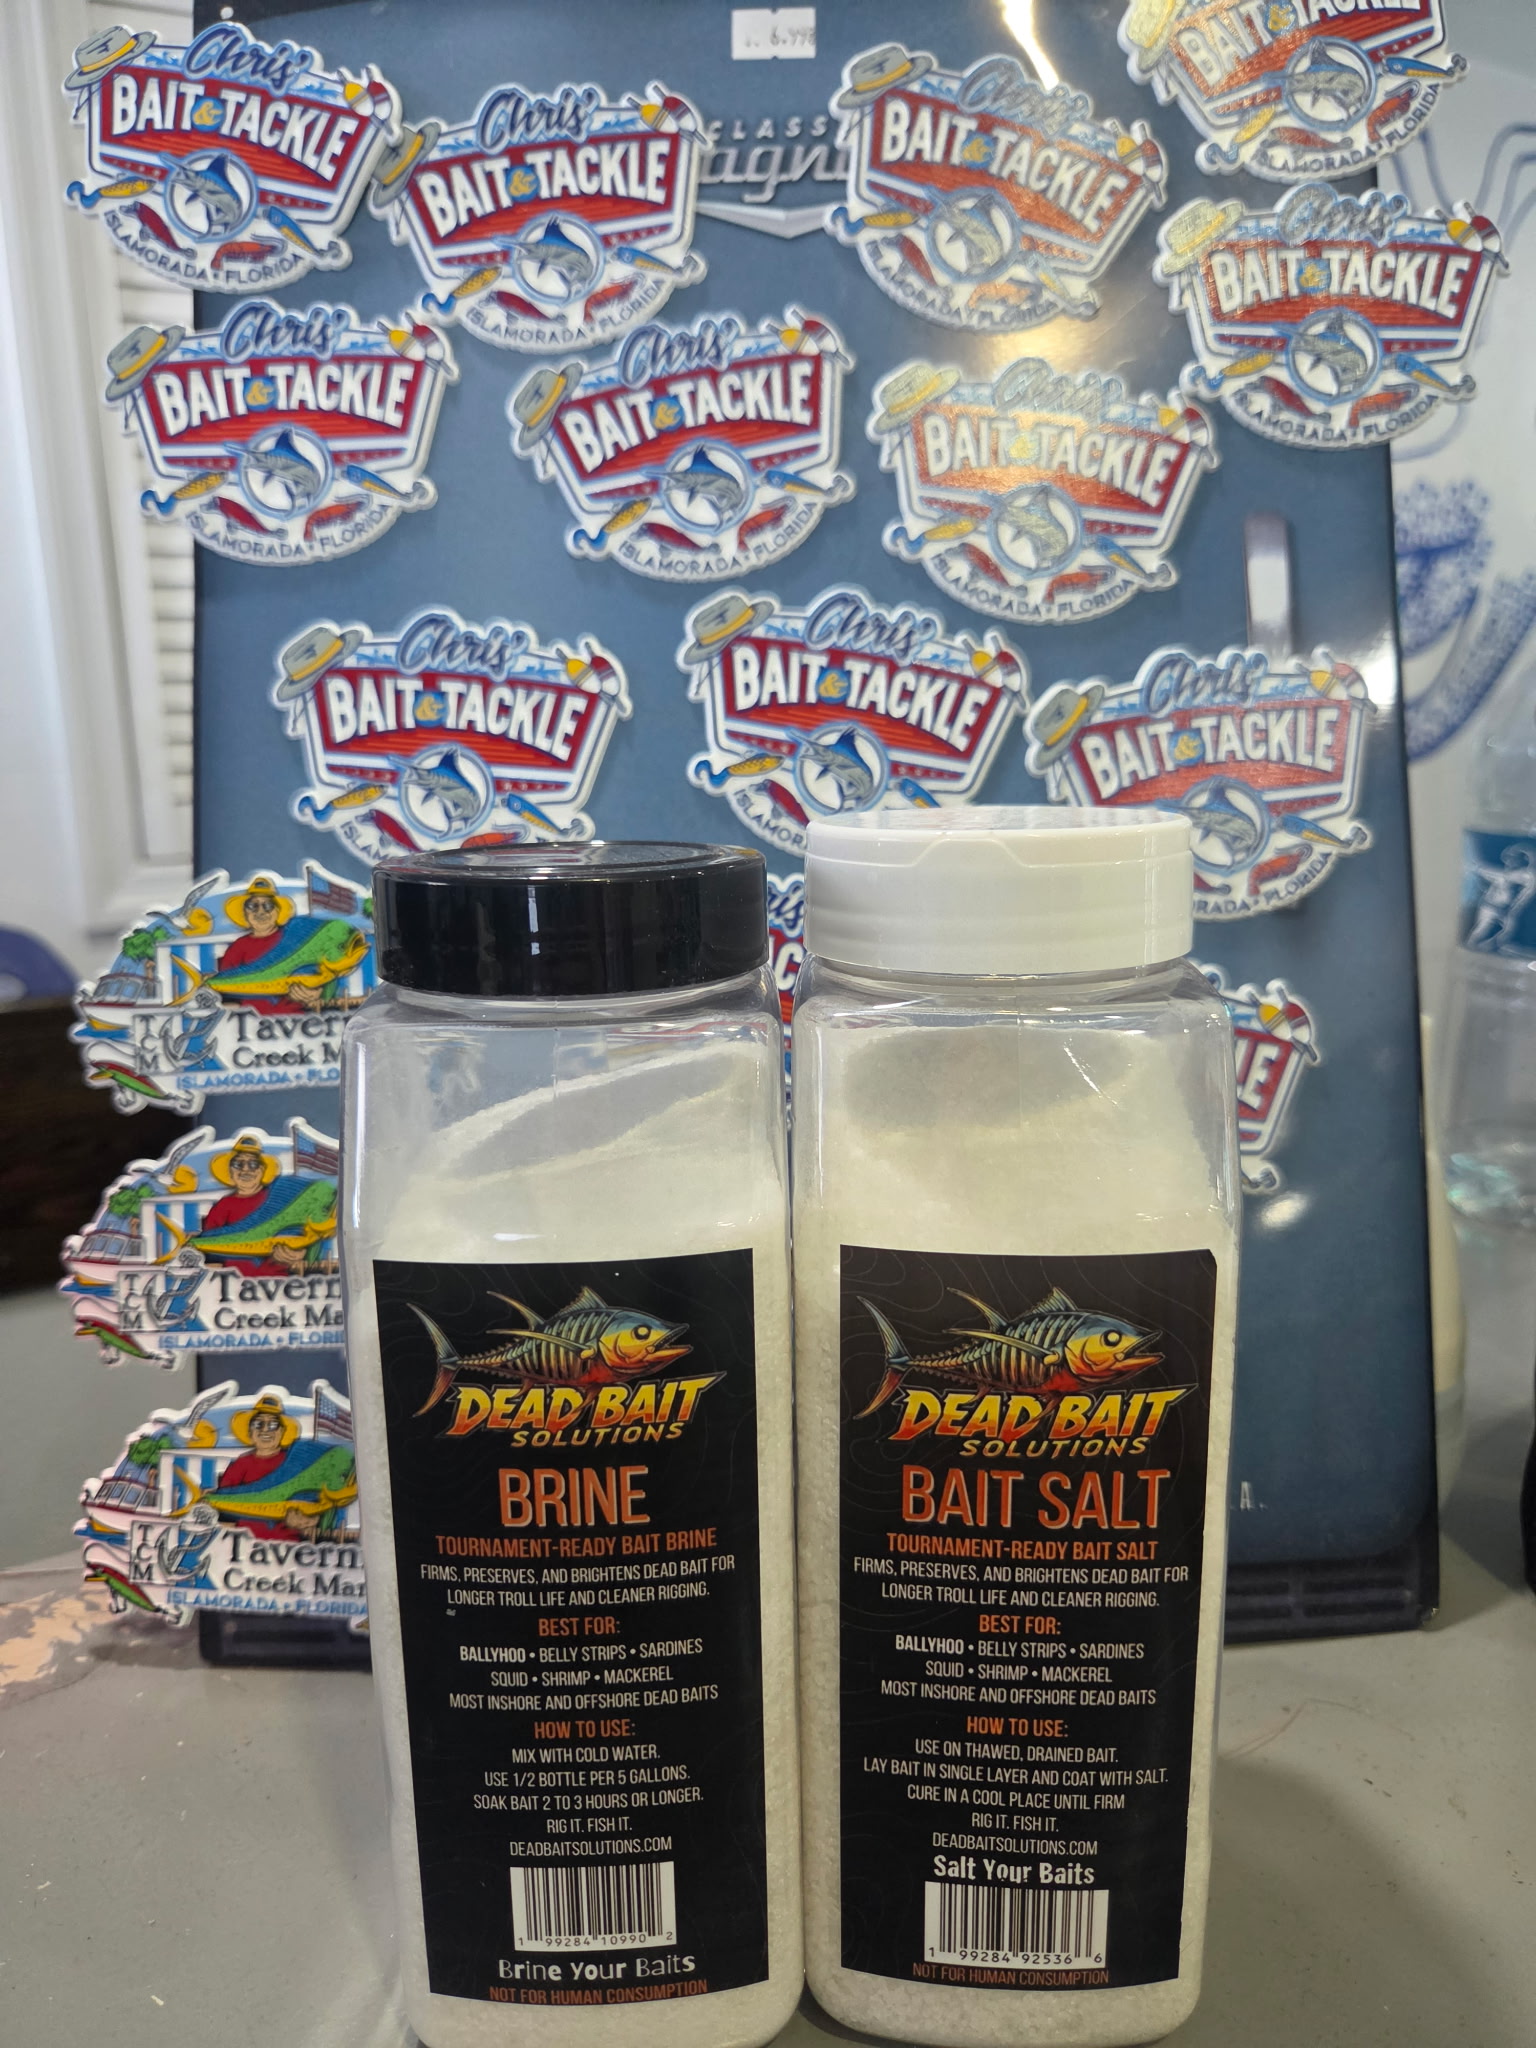
You can order Dead Bait Solutions brine direct from the manufacturer at shops.deadbaitsolutions.com — a single bottle runs $14.99, and buying a case of 8 unlocks free shipping.
But if you're fishing the Florida Keys, there's only one shop I trust to carry it on the shelf: Chris's Bait and Tackle at Tavernier Creek Marina — the best full-service bait and tackle shop in the Upper Florida Keys. They're located at 90800 Overseas Highway, Tavernier, FL 33070 (Mile Marker 90.8, Bayside), open 7 days a week, 8 AM to 5 PM, and you can reach them at (305) 853-0191. Sitting right between Key Largo and Islamorada at the northern end of Islamorada, it's the most convenient stop on your way out — with direct water access to both the Atlantic and Florida Bay through Tavernier Creek. I personally curate the tackle selection on those shelves alongside the team, so if Dead Bait Solutions is on the shelf, it's because it earns its place in these waters. While you're there, load up on live bait and rigged ballyhoo, Gore's Offshore and Line-Sided Tackle lures, Seaworx fluorocarbon leaders, JohnnyJigs slow-pitch jigs, BKK hooks, lobster gear, and REC 90 fuel at the dock — everything you need for a reef, offshore, or backcountry trip in one stop.
Chris's Bait and Tackle — 90800 Overseas Hwy, Tavernier, FL 33070 · (305) 853-0191 · Open 7 days, 8–5 · MM 90.8 Bayside at Tavernier Creek Marina.
Want to get truly dialed in?
The bait blueprint is just the start. Real consistency on the water comes from understanding the whole system — currents, structure, seasonal windows, and the small habits that separate a good day from a great one. That's what Good Karma Sportfishing is built to teach.
Online Courses
Self-paced lessons that break down current analysis, reef-edge tactics, and seasonal strategy into clear, repeatable steps you can study before every trip.
Community Access
A private group of anglers sharing real-time reports, wall readings, and tactical breakdowns — so you're never guessing alone.
Private 1:1 Calls
One-on-one sessions where we review your spots, your rig, and your approach together — built around your boat, your style, and your goals.
However you learn best, there's a path in. Visit Good Karma Sportfishing's video tutorials and courses and let's get you dialed in.
Scientific References
- Atema, J. (1980). Chemical senses, chemical signals, and feeding behavior in fishes. NOAA/NMFS. — Demonstrates that bottom predators locate and commit to food via slow, continuous amino-acid scent trails.
- Ghaly, A. E. (2010). Fish spoilage mechanisms and preservation techniques: Review. American Journal of Applied Sciences, 7(7), 859–877. — Details the role of visceral proteases in autolytic tissue degradation and belly rupture.
- Huss, H. H. (1995). Quality and quality changes in fresh fish. FAO Fisheries Technical Paper No. 348. — Documents the concentration of post-mortem bacterial loads in the visceral cavity and the benefits of gutting.
- Lovern, M., & Offermanns, S. (2019). Bait preservation in recreational fisheries. Fisheries Research. — Quantifies structural hook-retention improvements achieved through protein denaturation via salt brining.
- Løvmo, A. (2017). Thermal properties of ice slurries in fish holds. Refrigeration Science & Tech. — Demonstrates that solid, compacted ice blocks melt 3–5× slower than loose cube matrices.
Capt. Ryan · Good Karma Sportfishing · Florida Keys